

The Mendota 4’ x 3/8” slip lead is the only leash we use with our dogs and our clients. This leash is soft but strong, comfortable to hold, and, most importantly, can be positioned on a part of our dog’s neck that they will be most responsive to.
Most of us have tried a leash clipped to a collar, but dogs are comfortable pulling from the base of their neck and it can be harder to communicate with them through the leash. On the trails, or where there are high distractions, and possible threats, we don’t like fumbling around looking for the clip and hoping we don’t accidentally clip the leash to the ID tag ring.
We also don’t like using a harness because those aren’t really designed for walking dogs. Think of the animals that wear harnesses - they all do the same job. Carriage horses, plow oxen, and sled dogs all pull! Then we put a harness around our dog’s body and can’t understand why they pull on us. It is called opposition reflex, and well, we just made it comfortable for them! A harness also offers very little control over my dog. If something were to go wrong, my only move is to back up as quickly as I can because everything in front of my dog’s shoulders are in front of my realm of influence.
How about ‘no pull’ chest or face contraptions? They can help because they make it uncomfortable for my dog to pull. If I tied your shoelaces together, you would have a hard time walking. Once we put them back, you would go back to walking as you used to. Same with these devices. They may help in the moment, but instead of teaching a dog not to pull they simply temporarily disable them.
The Mendota Slip Lead
Enter Mendota! We are not sponsored (I wish we were!), we just really love this leash. The 4’ leash is the perfect length - we don’t really want our dog more than 4’ from us in situations that require a leash and the 3/8” width is comfortable in our hands and allows us to talk to our dog because of the limited surface area. This leash is a game changer when it comes to teaching dogs the skill of loose leash walking or dealing with reactivity. We used to encourage our training clients to buy one, now we give them out at the first session! The slip lead design gives us the security of knowing that there is no way for our dog to slip out of it the way they can with some collars and harnesses. The best part is supporting a great company. If the leash needs repairs, you can send it back to Mendota and they will repair and return it at no cost.
CORRECT PLACEMENT

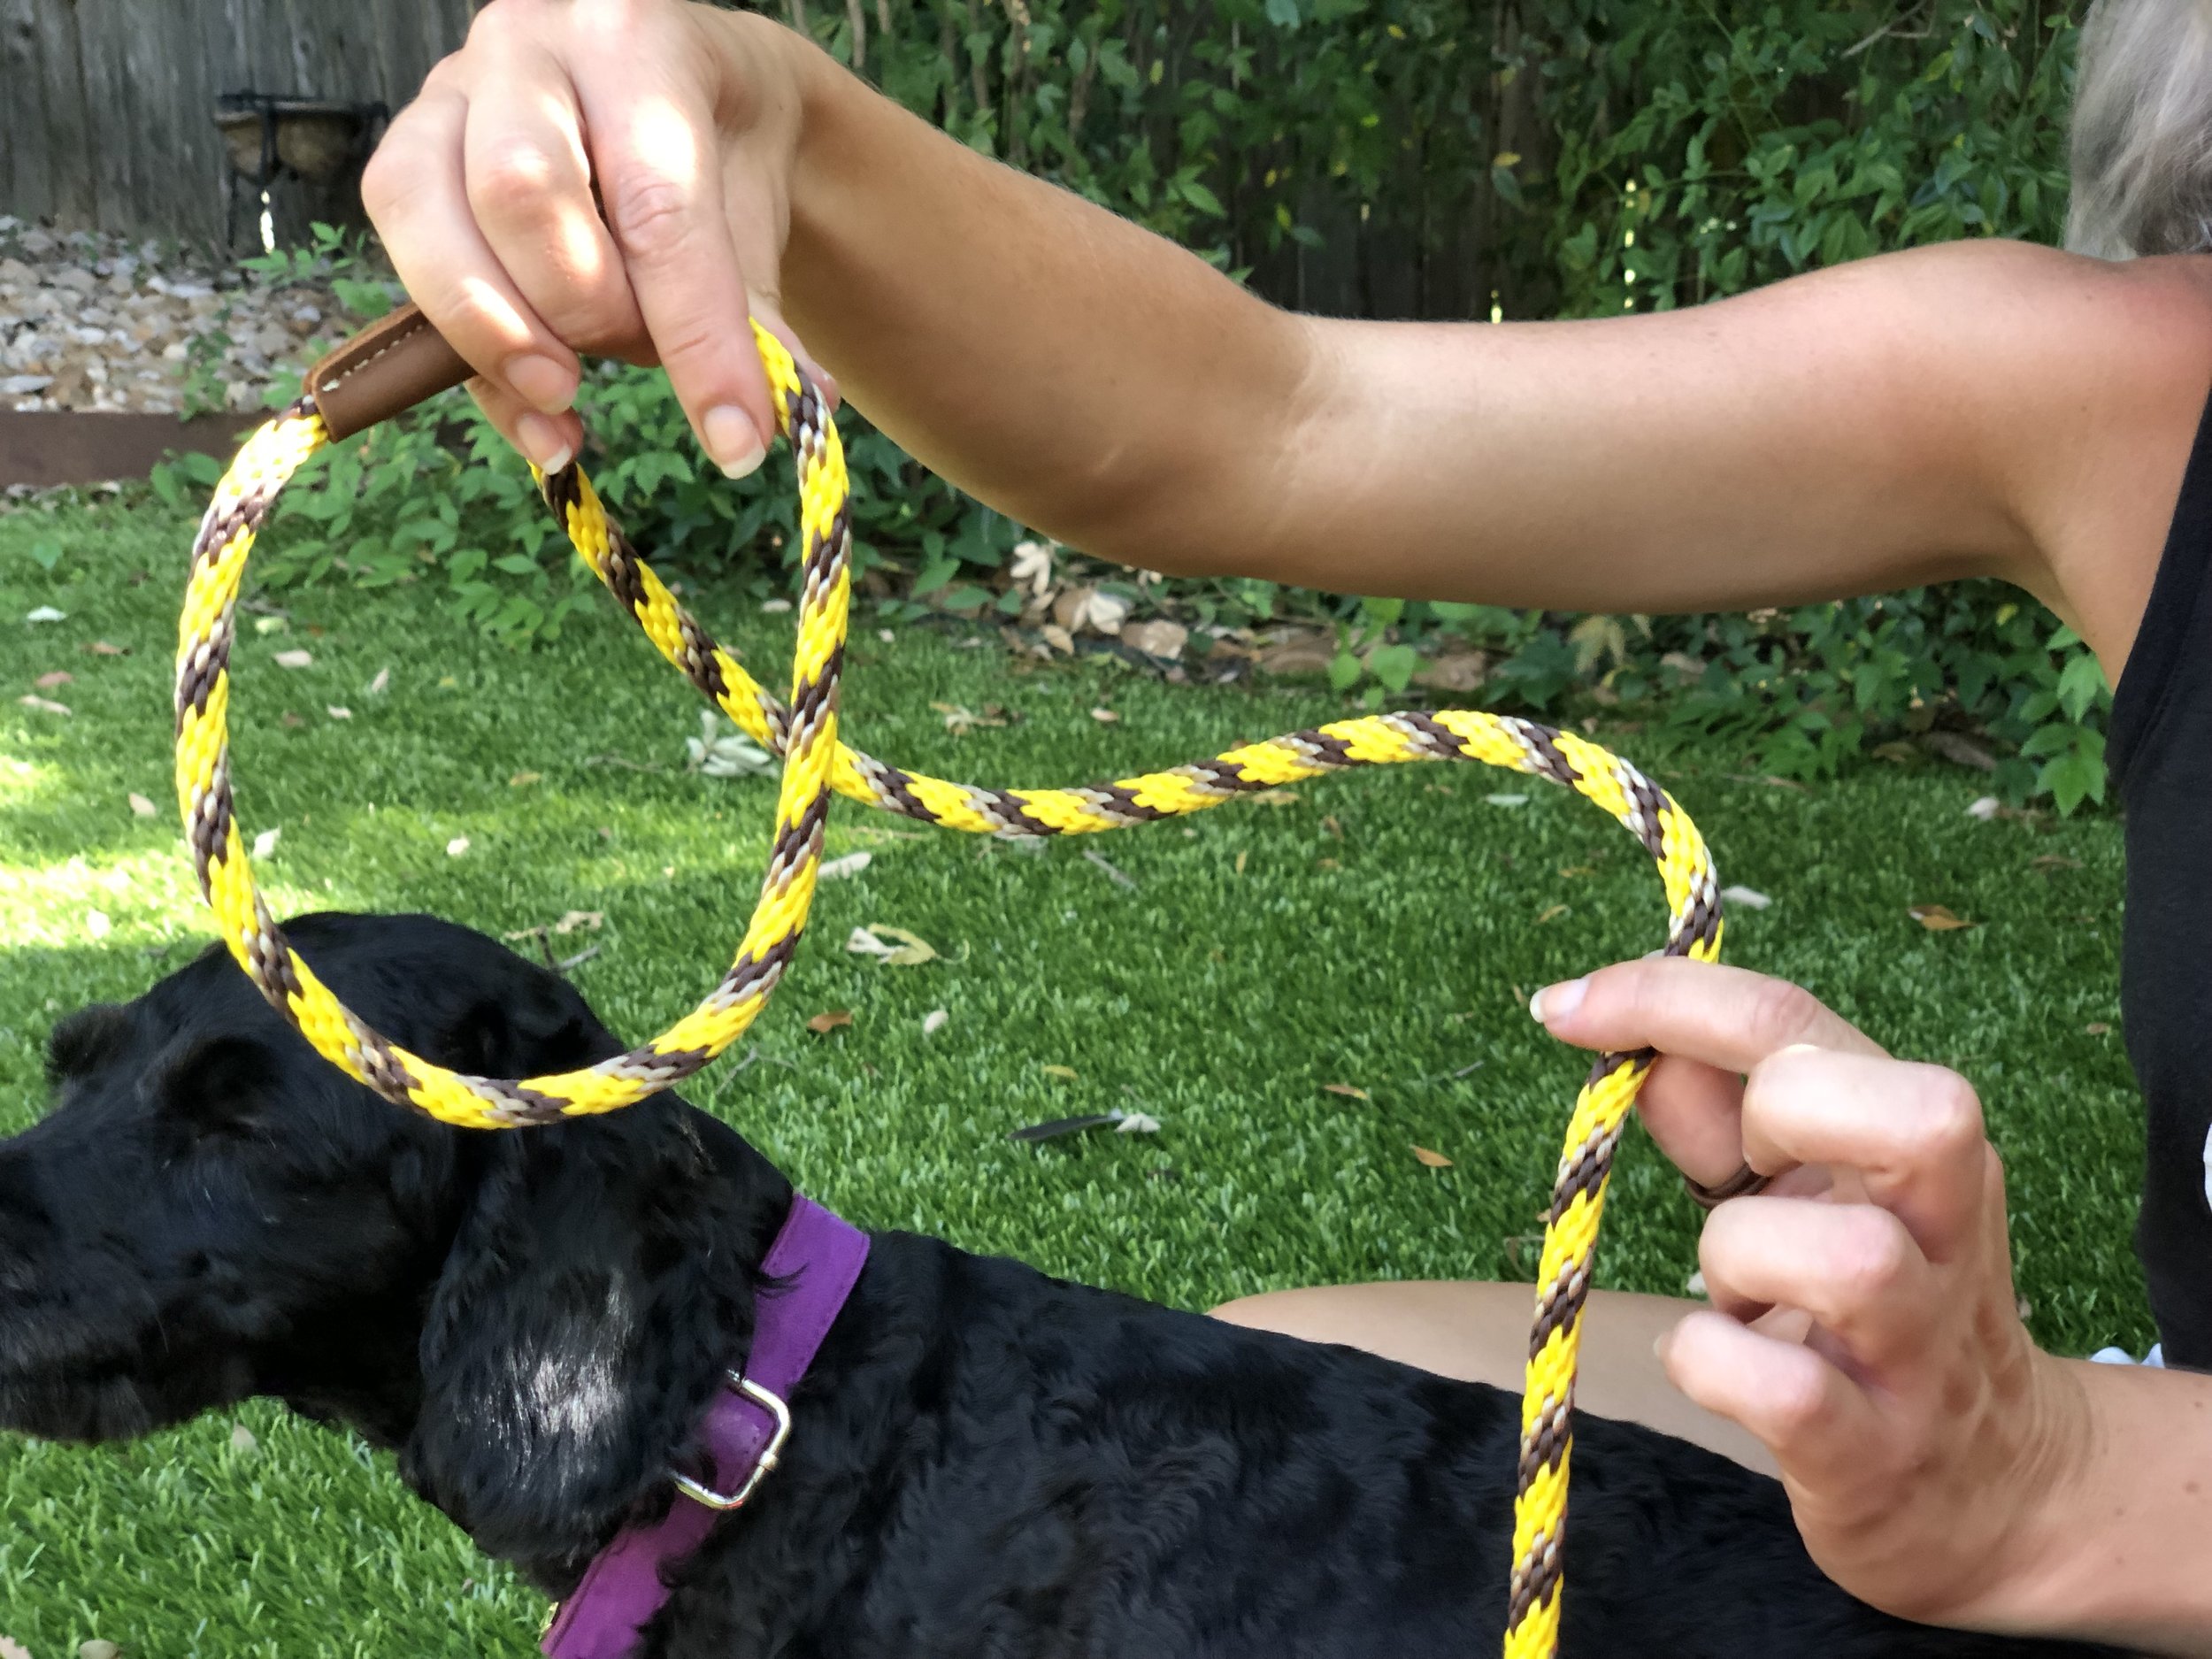
To begin, make sure your dog is calm before you leash them. It takes a moment to get the leash positioned while you are still learning to put it on. Make sure the loop is large enough to fit comfortably over your dog’s head and hold the ring and leather stopper in one hand to be sure it doesn’t slip down and change shape as you are putting it on your dog.

Slip the loop over your dog’s head and keep it above the ID collar at the top of their neck.
*Some dogs don’t like the motion of a hand going into their blindspot, so you may want to hold their collar with your other hand, helping to keep them still.
*If you dog doesn’t love having the loop put on. Hold the loop in front of them and give them a treat as you move it towards them. One or two sessions of that and they will love the leash!

When I put the leash on, I make sure it is at the very top of their neck. Right behind the ears…

And right behind the jaw. The top of the neck is the most sensitive and I want to be able to touch lightly and get a response.

Keeping the leash in place, slide the leather stopper down. The stopper is supposed to be tight so it stays in place. You will get the hang of sliding it up and down.
Tighten the loop almost all the way, then circle your finger around your dog’s neck, making sure that all their hair is flush and any extra neck skin has been pulled down below the leash.

Now you can tighten the leash. After nudging it back up into position, high up on their neck, and right behind their ears and jaw, slide the stopper so it is snug. You want to be able to fit only one finger in the loop.
If your dog is uncomfortable, you may have made the leash too tight. Pull the stopper back a fraction of an inch. Think of this leash like a belt, if it’s too loose it won’t do its job. You may have to stop along the walk to readjust, but putting it on properly is the best way to start.
When you are ready to take your leash off, pinch the leash on the far side of the ring. You don’t want to pull against your dog’s neck while you slide the stopper back.

Position your finger about 1” down from the ring to give yourself a little room to get your other hand between the ring and stopper. Sometimes it can help to fold the leash backwards on itself, exposing a bit of space to pinch.

Once you have your finger between the ring and leather stopper, drag your fingers backwards, towards the handle of the leash. The stopper is tight, so pinching on the other side will keep your dog comfortable. I like to put my fingers in front of the stopper, but you can also put them on the stopper or drag it with your fingernails.

In our training series we cover the cues we give to teach loose leash walking. Ideally, we can walk our dog with slack in the leash, keeping our dog’s attention and having them do the job of staying in a heel.
Dogs that are fun to walk get walked more! It’s worth taking the time to teach this important skill.
You can order your Mendota leash and check out a few of our other favorite products here.